
As part of our visit to the city of Guaymas, Sonora, we had the opportunity to visit the only pearl oyster farm in North America (Perlas Del Mar de Cortez). The farm is located on the awesomely-named Bacochibampo Bay in the Gulf of California (the name apparently means “Bay of Sea-Snakes” in the language of the native Yaqui). This region has a long history of pearl exploitation — pearls were one of the major reasons why the Spanish began to colonize the area in the 1500s.
The site of the operation is a former university, where our professor Xavier received his bachelor’s degree and first met one of the pearl farm’s founders, Enrique Arizmende. Enrique and his business partners started the farm as an extension of their master’s research (proving to several skeptics in our group that good things do sometimes come from master’s projects). The farm became private when the university closed in 2002.
If this sounds like a great idea to you, here’s what you’ll need to do:
Step 1: Find a good location.

Bacochibampo Bay is a shallow, protected bay with good flows that is ideal for suspension aquaculture. In this type of culture, the pearl oysters are placed in nets and hung about 1.5 meters from the surface, where they are able to feed on as much plankton as possible.
Step 2: Collect pearl oyster larvae.

Pearl oyster larvae occur naturally in the bay, settling on sea fans and similar surfaces. At the pearl farm, this type of surface is mimicked with onion bags used as “spat collectors.” Typically, a thousand or more larvae will attach to a single bag.
The two species grown at the farm are the black-lipped pearl oyster (Pinctada mazatlantica), which produces naturally dark-colored pearls, and the rainbow-lipped pearl oyster (Pteria sterna), which is found nowhere else in the world and produces beautiful multi-colored pearls.
Step 3: Transfer settled larvae to a juvenile net.
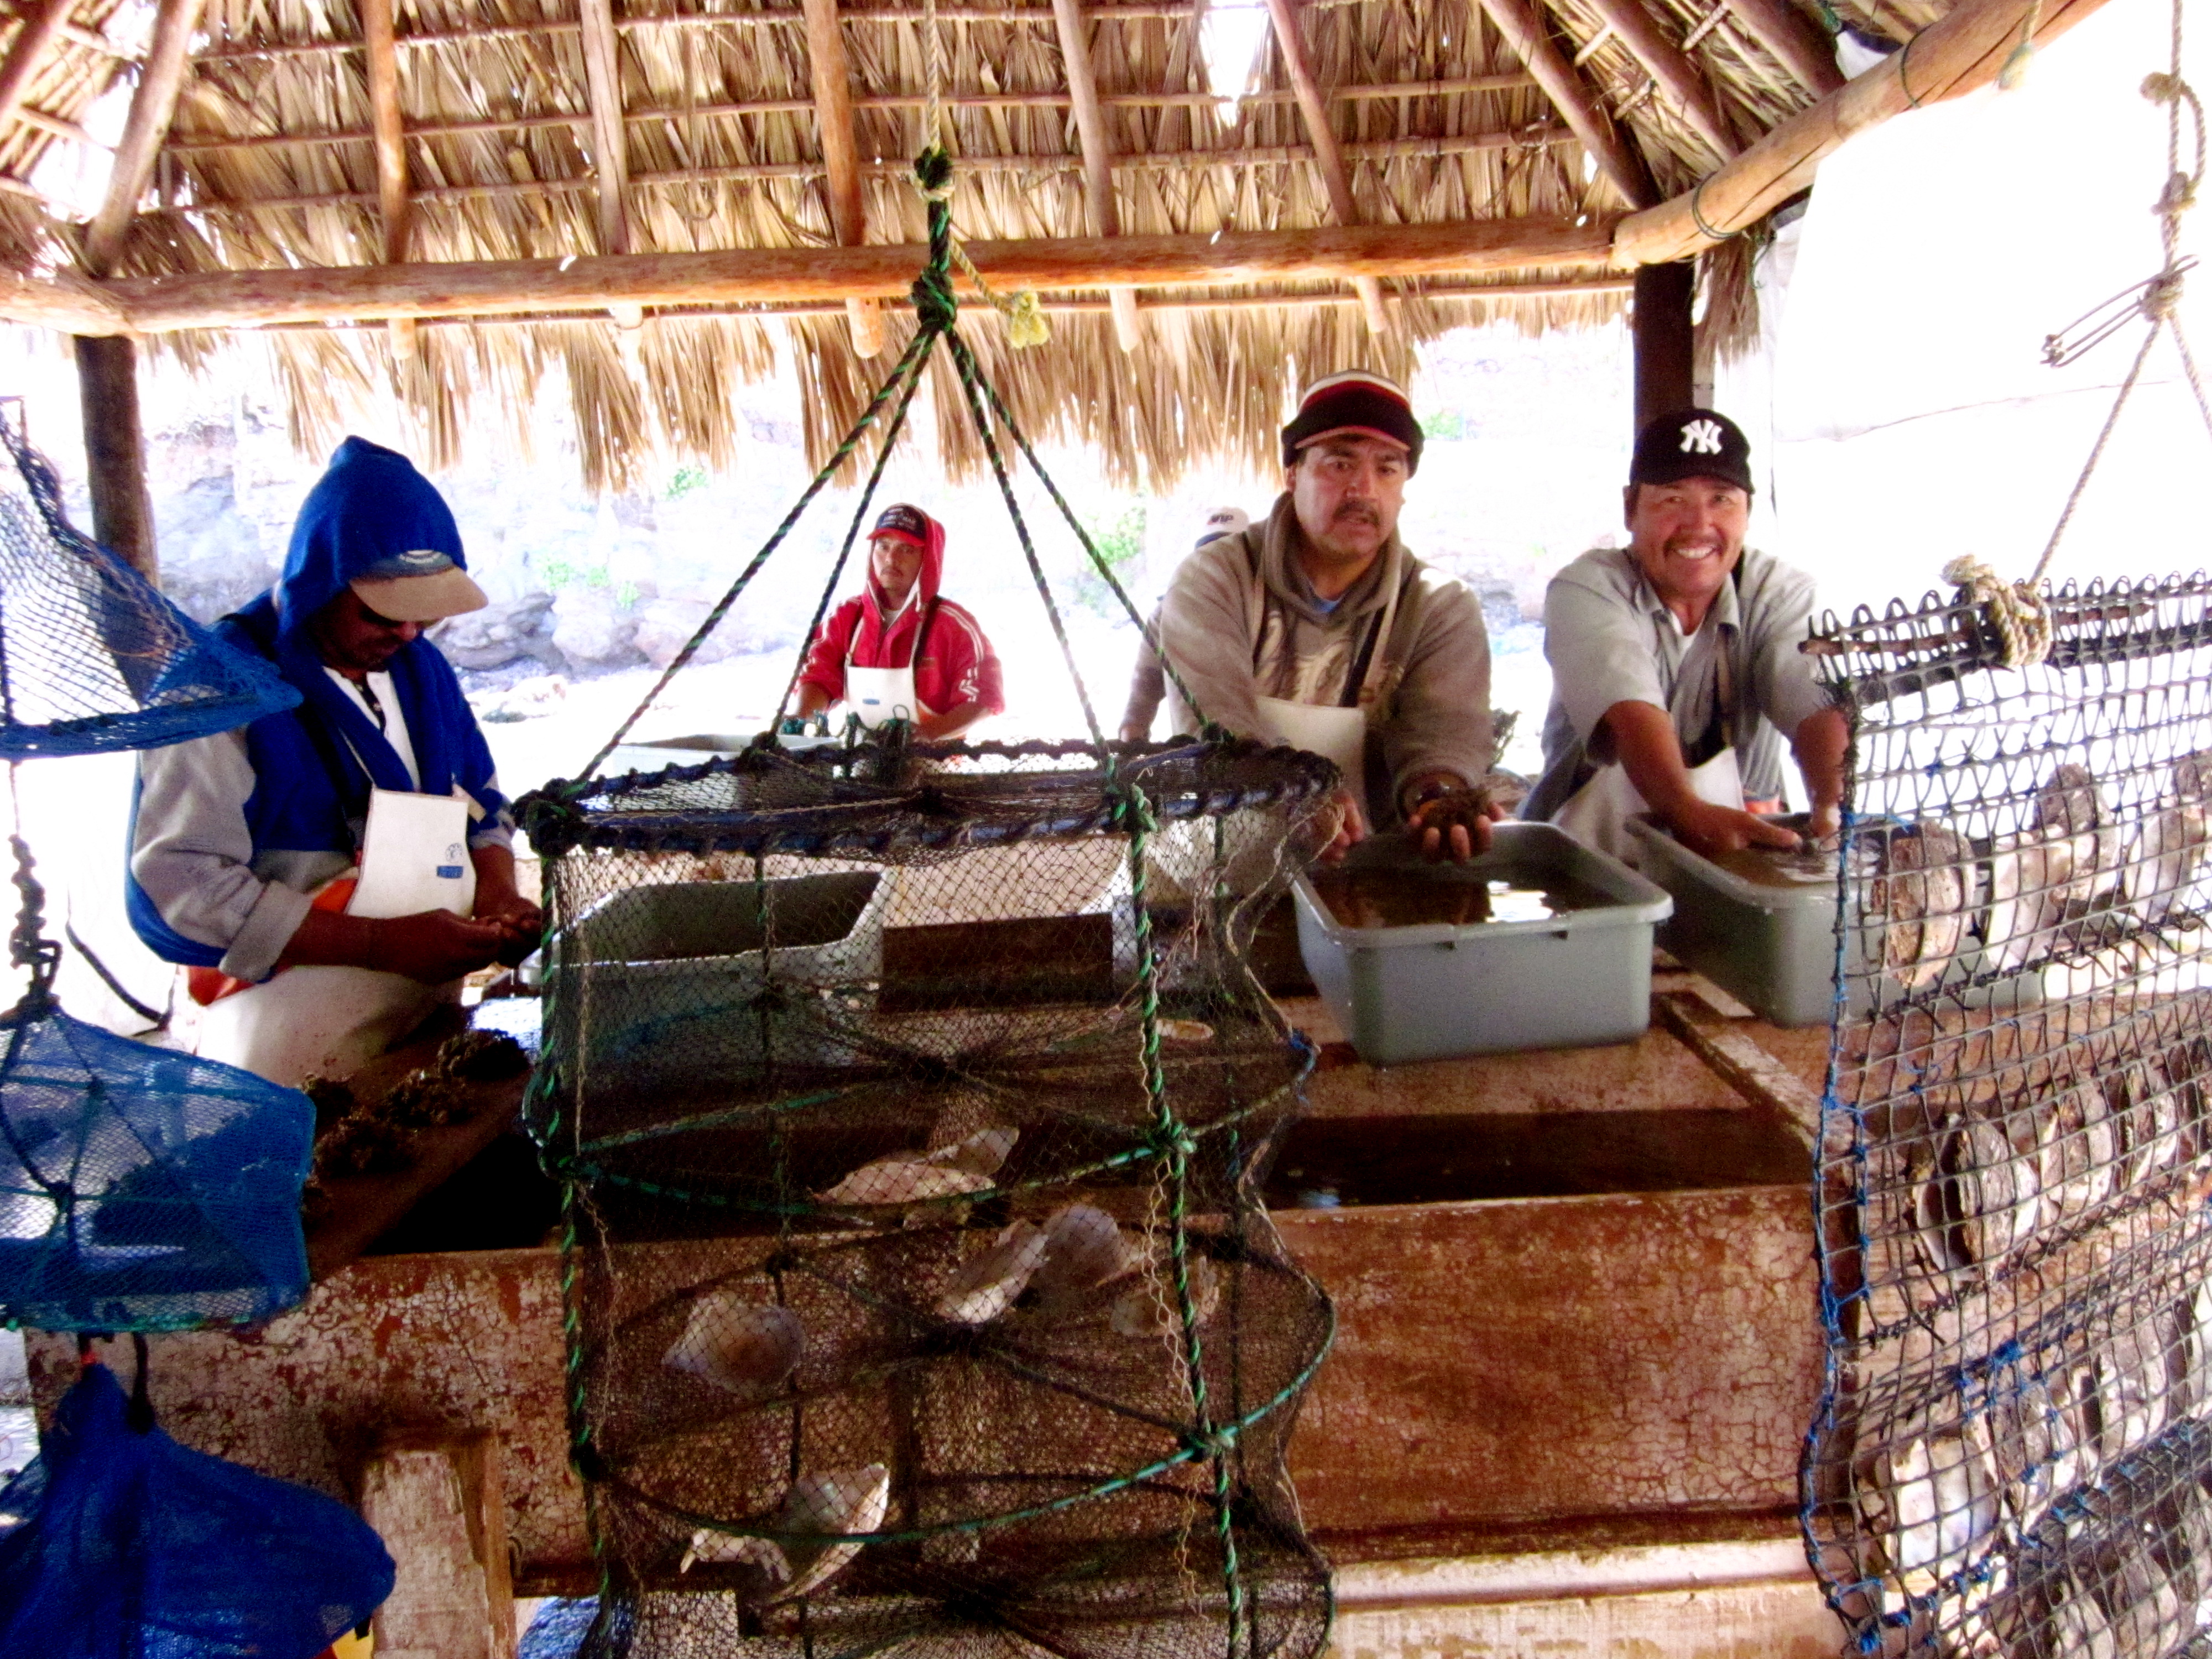
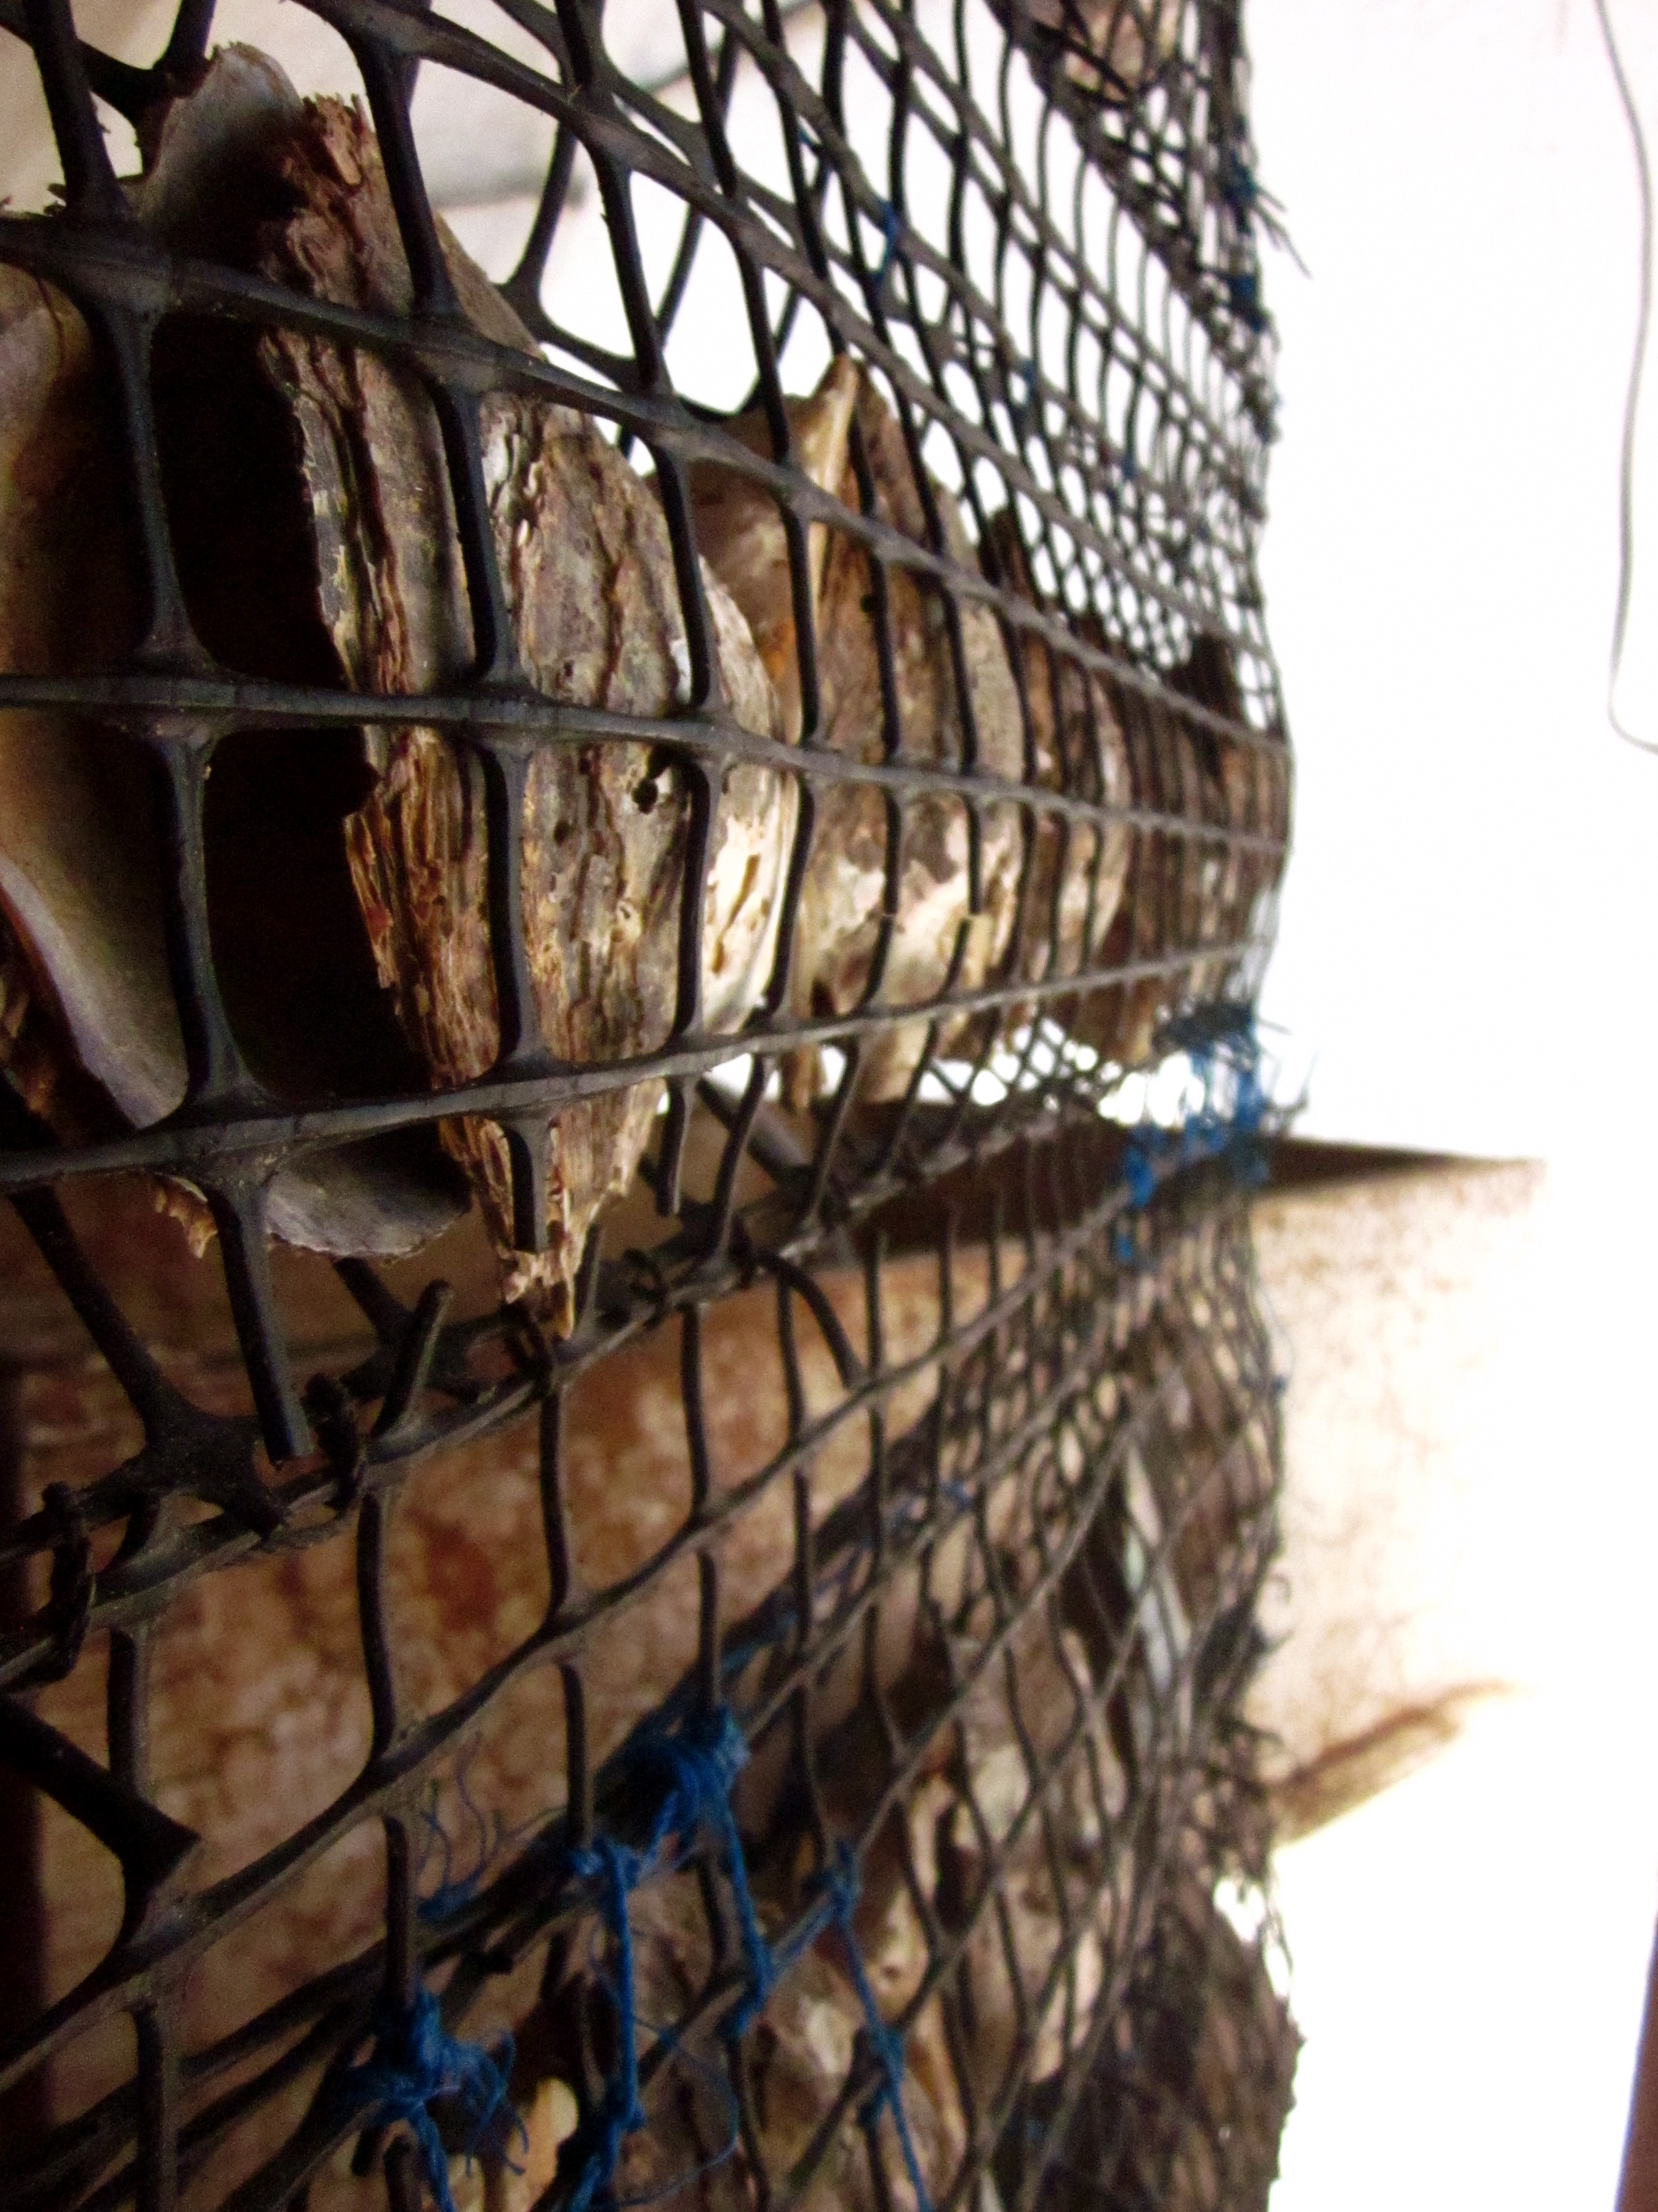
After a short growth period, the larvae are transferred to a juvenile net bag (blue bags pictured above). If they were left on the green spat collectors, the survival rate would be less than 1/1000 – the small fragile shell of juveniles makes them a “favorite cracker for fish.” With transfer to a more protected net, survival rates reach 90%.
Step 4: Wait a few months, transfer juveniles to a bigger net.

After the juvenile nets, the pearl oysters are transferred to a “lantern net,” a net with multiple levels containing about 20 pearl oysters in each.
Step 5: Wait 2 years, perform surgery.
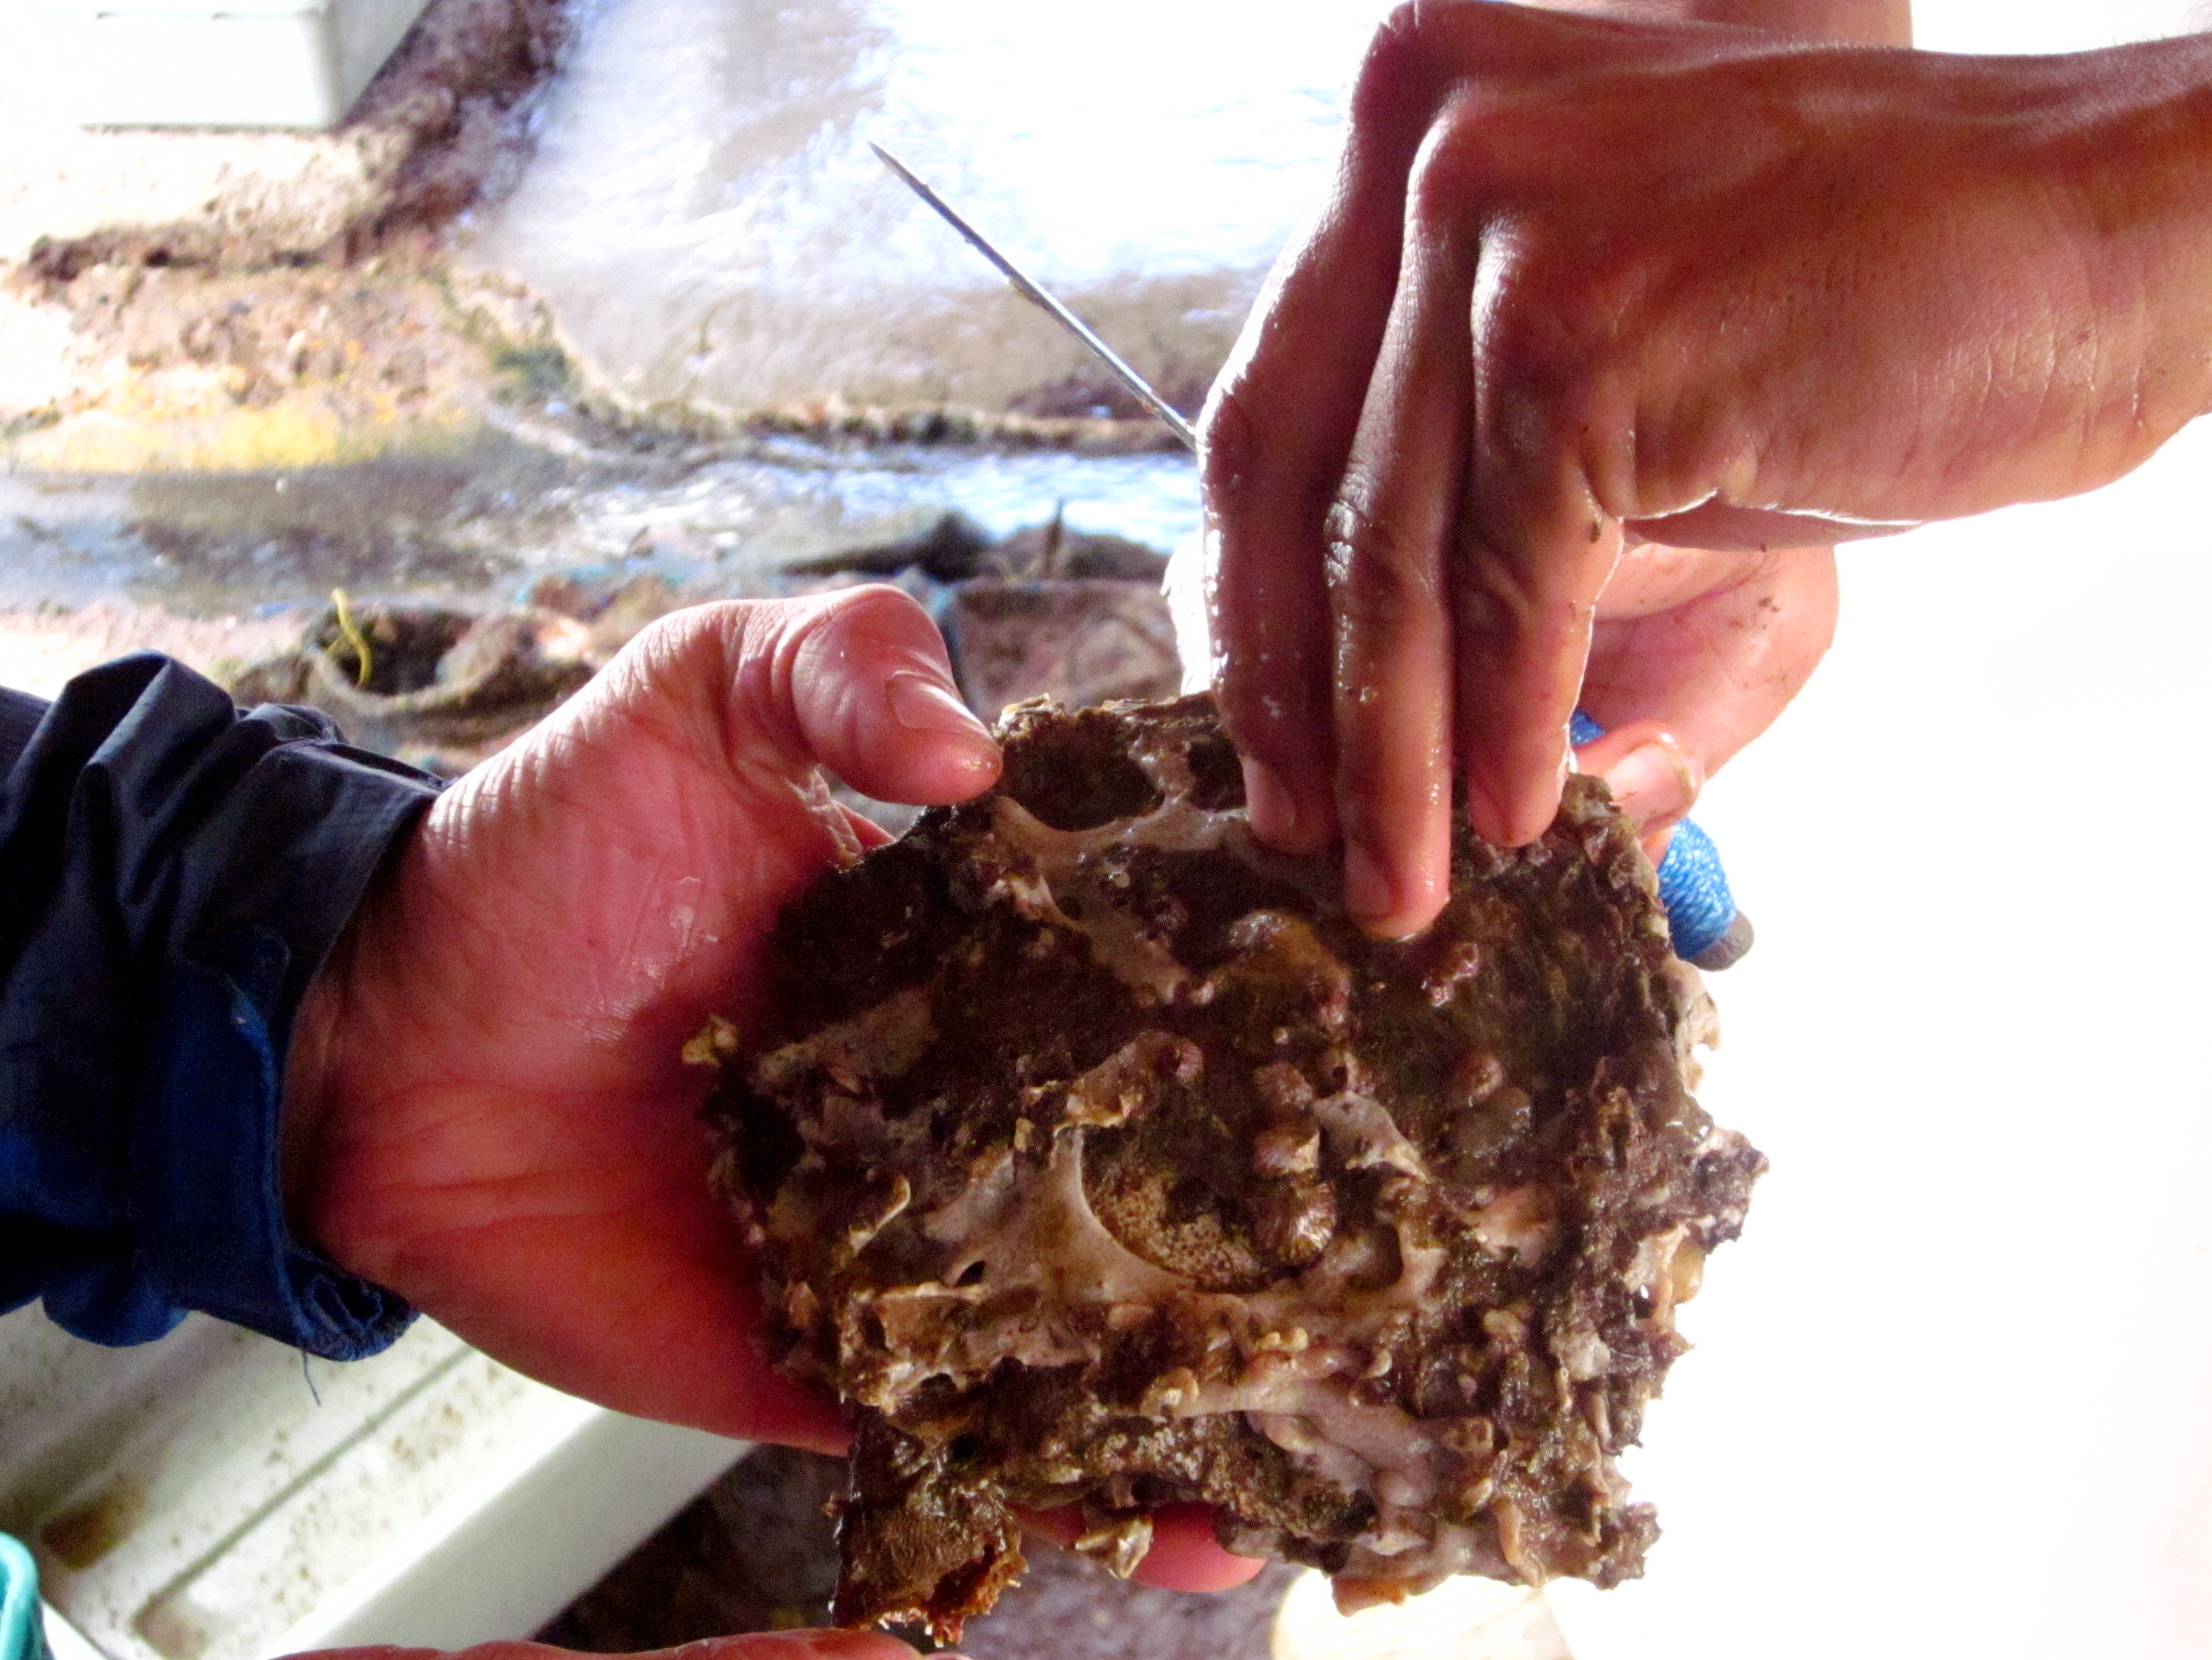
After the pearl oysters are held in the lantern net for about 2 years, an “operation” must be performed on each individual in order to induce the formation of a pearl (the incidence of natural pearl formation is about 1/10,000). Contrary to the perceptions that many of us had about pearl formation, you can’t just spoon sand inside the oyster to irritate it.
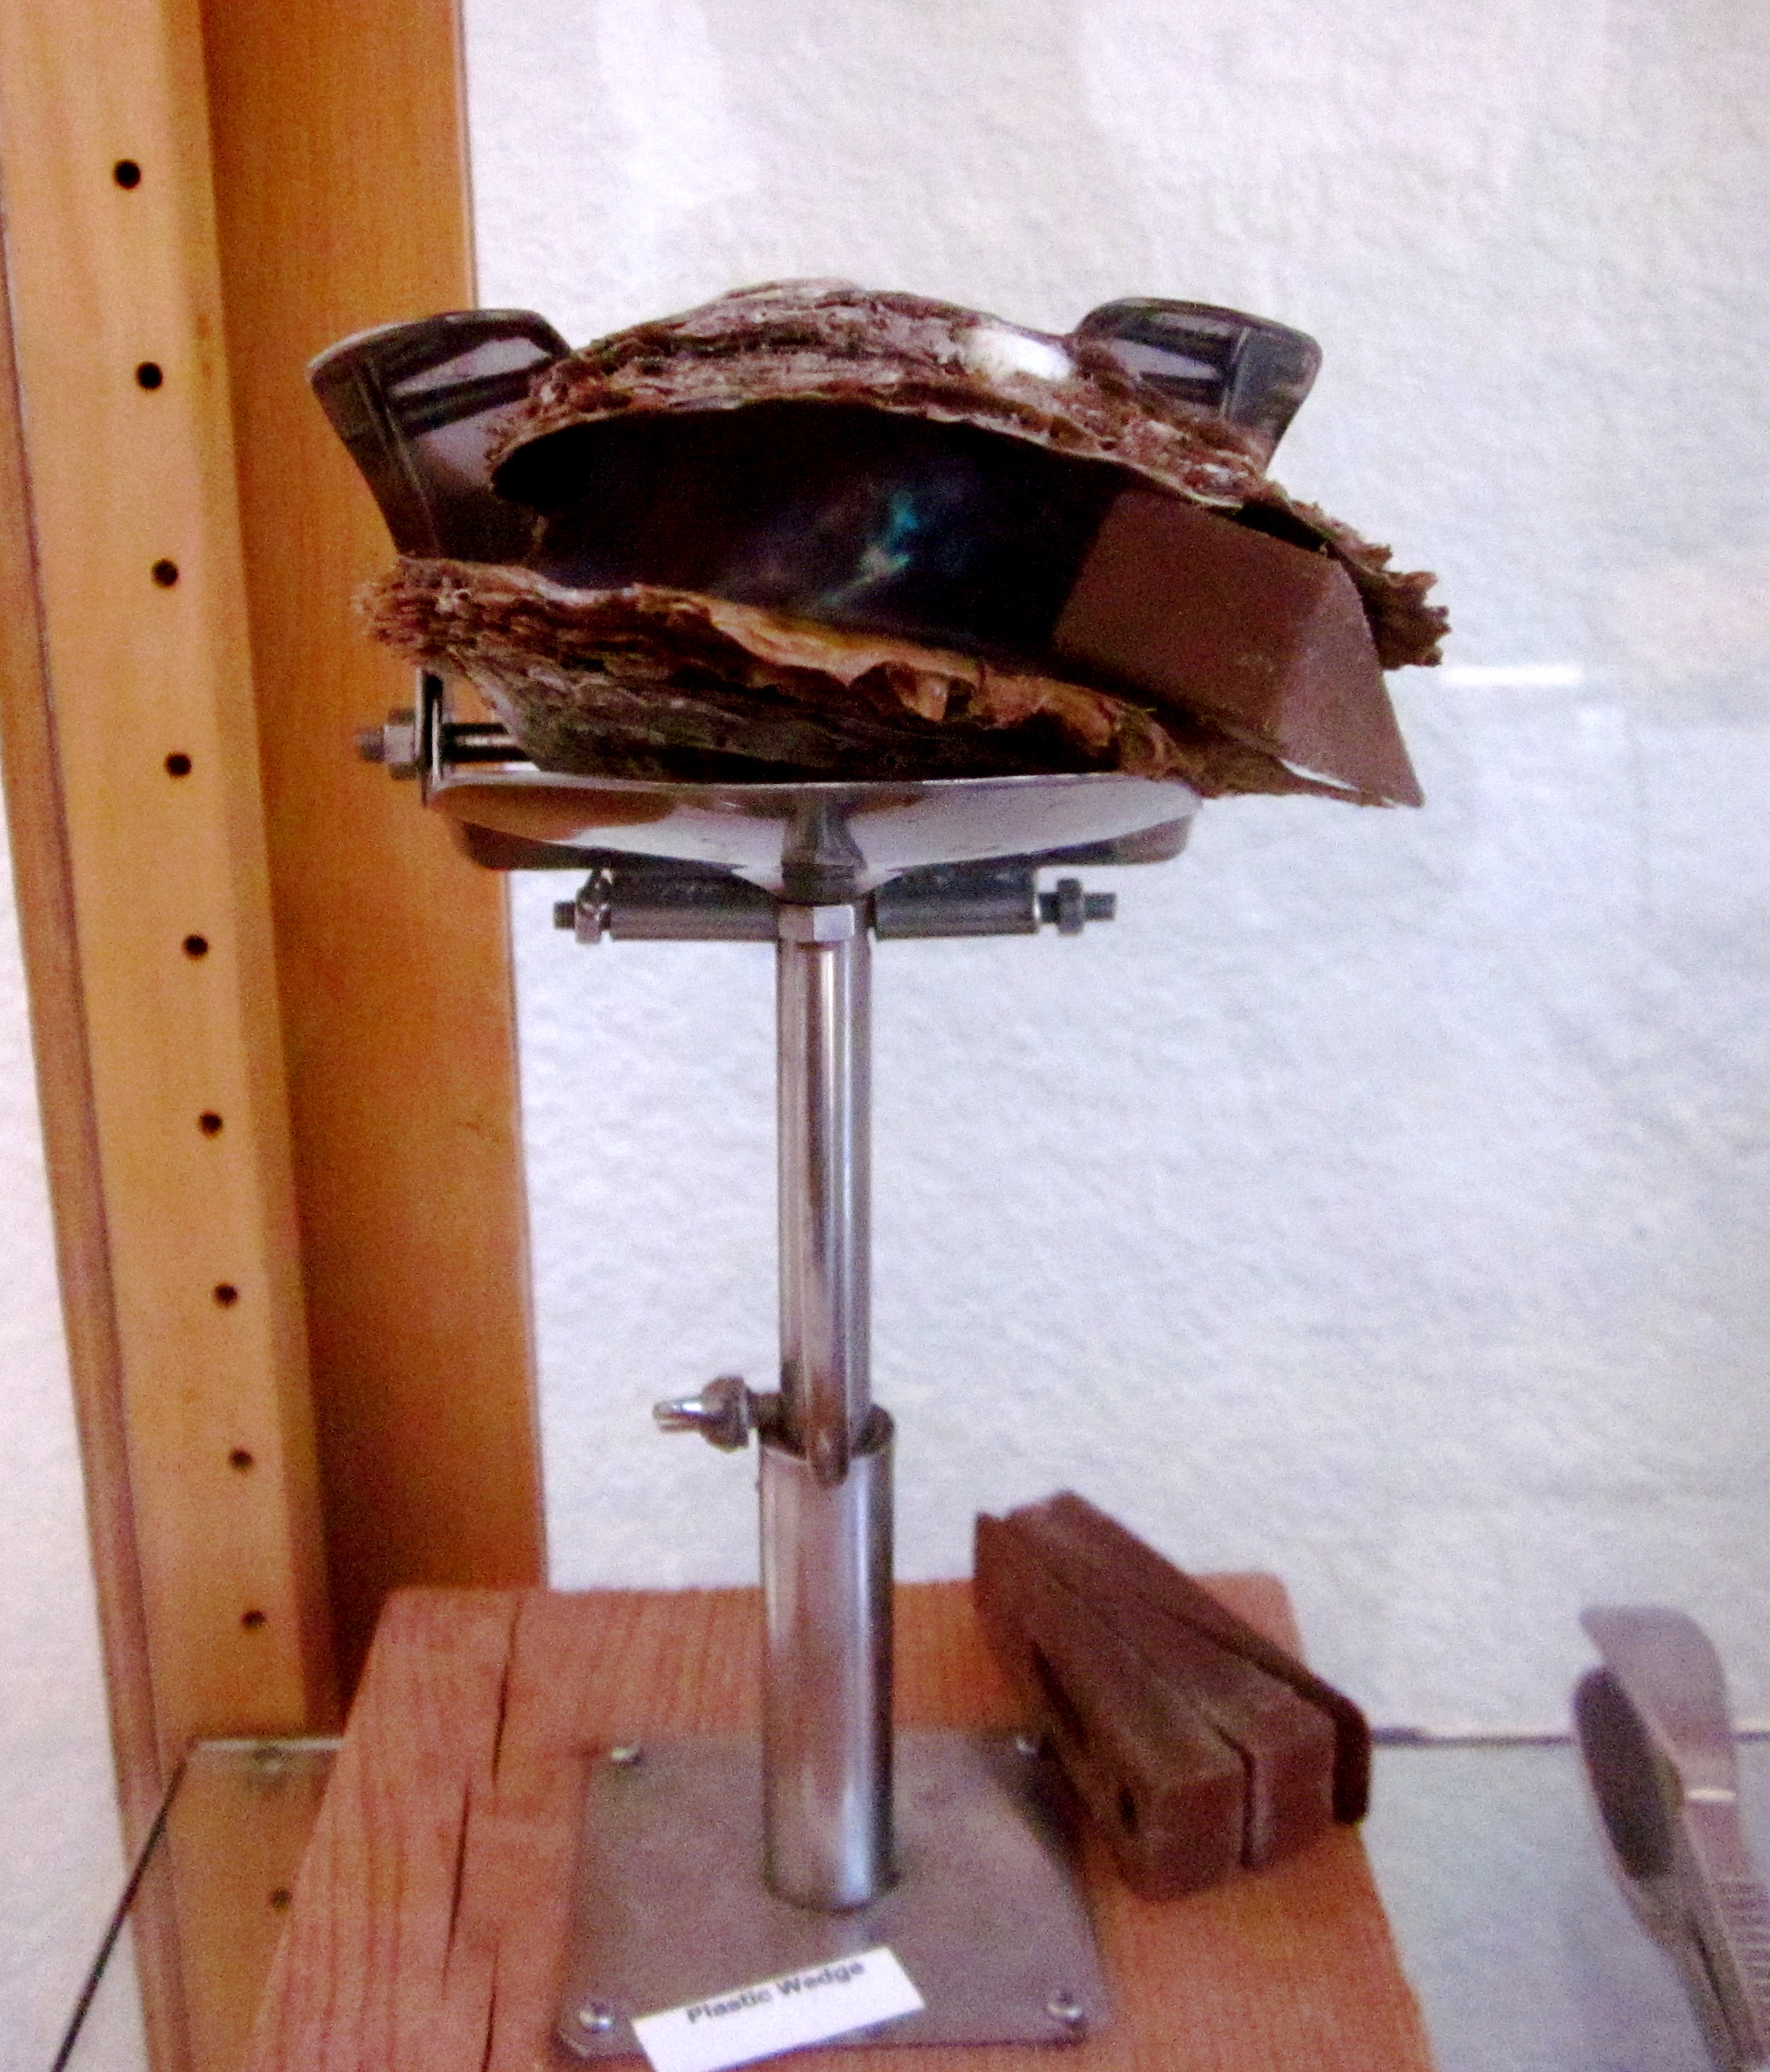
The “mantle” is the part of the oyster that forms the shell, and this is the part that must be grafted and placed in contact with a “nucleus” – a small bead made with mother of pearl from a freshwater mussel. The nucleus will (hopefully) trigger a defense mechanism that leads to the oyster covering it with layers of mother of pearl.
Step 6: Transfer pearl oysters to yet another type of net, wait another year and a half.
After the procedure to add the nucleus, the oysters are placed in a “shoe net” and left to grow for another 1.5 years. The success rate of pearl formation is about 50%, and of these, about half are of high enough quality to be sold.
Step 7: Harvest your pearls!
Easy enough, right? Finally, as the end result of multiple years of growth, the pearl oysters are harvested for their beautiful products – the color of which is always a surprise.
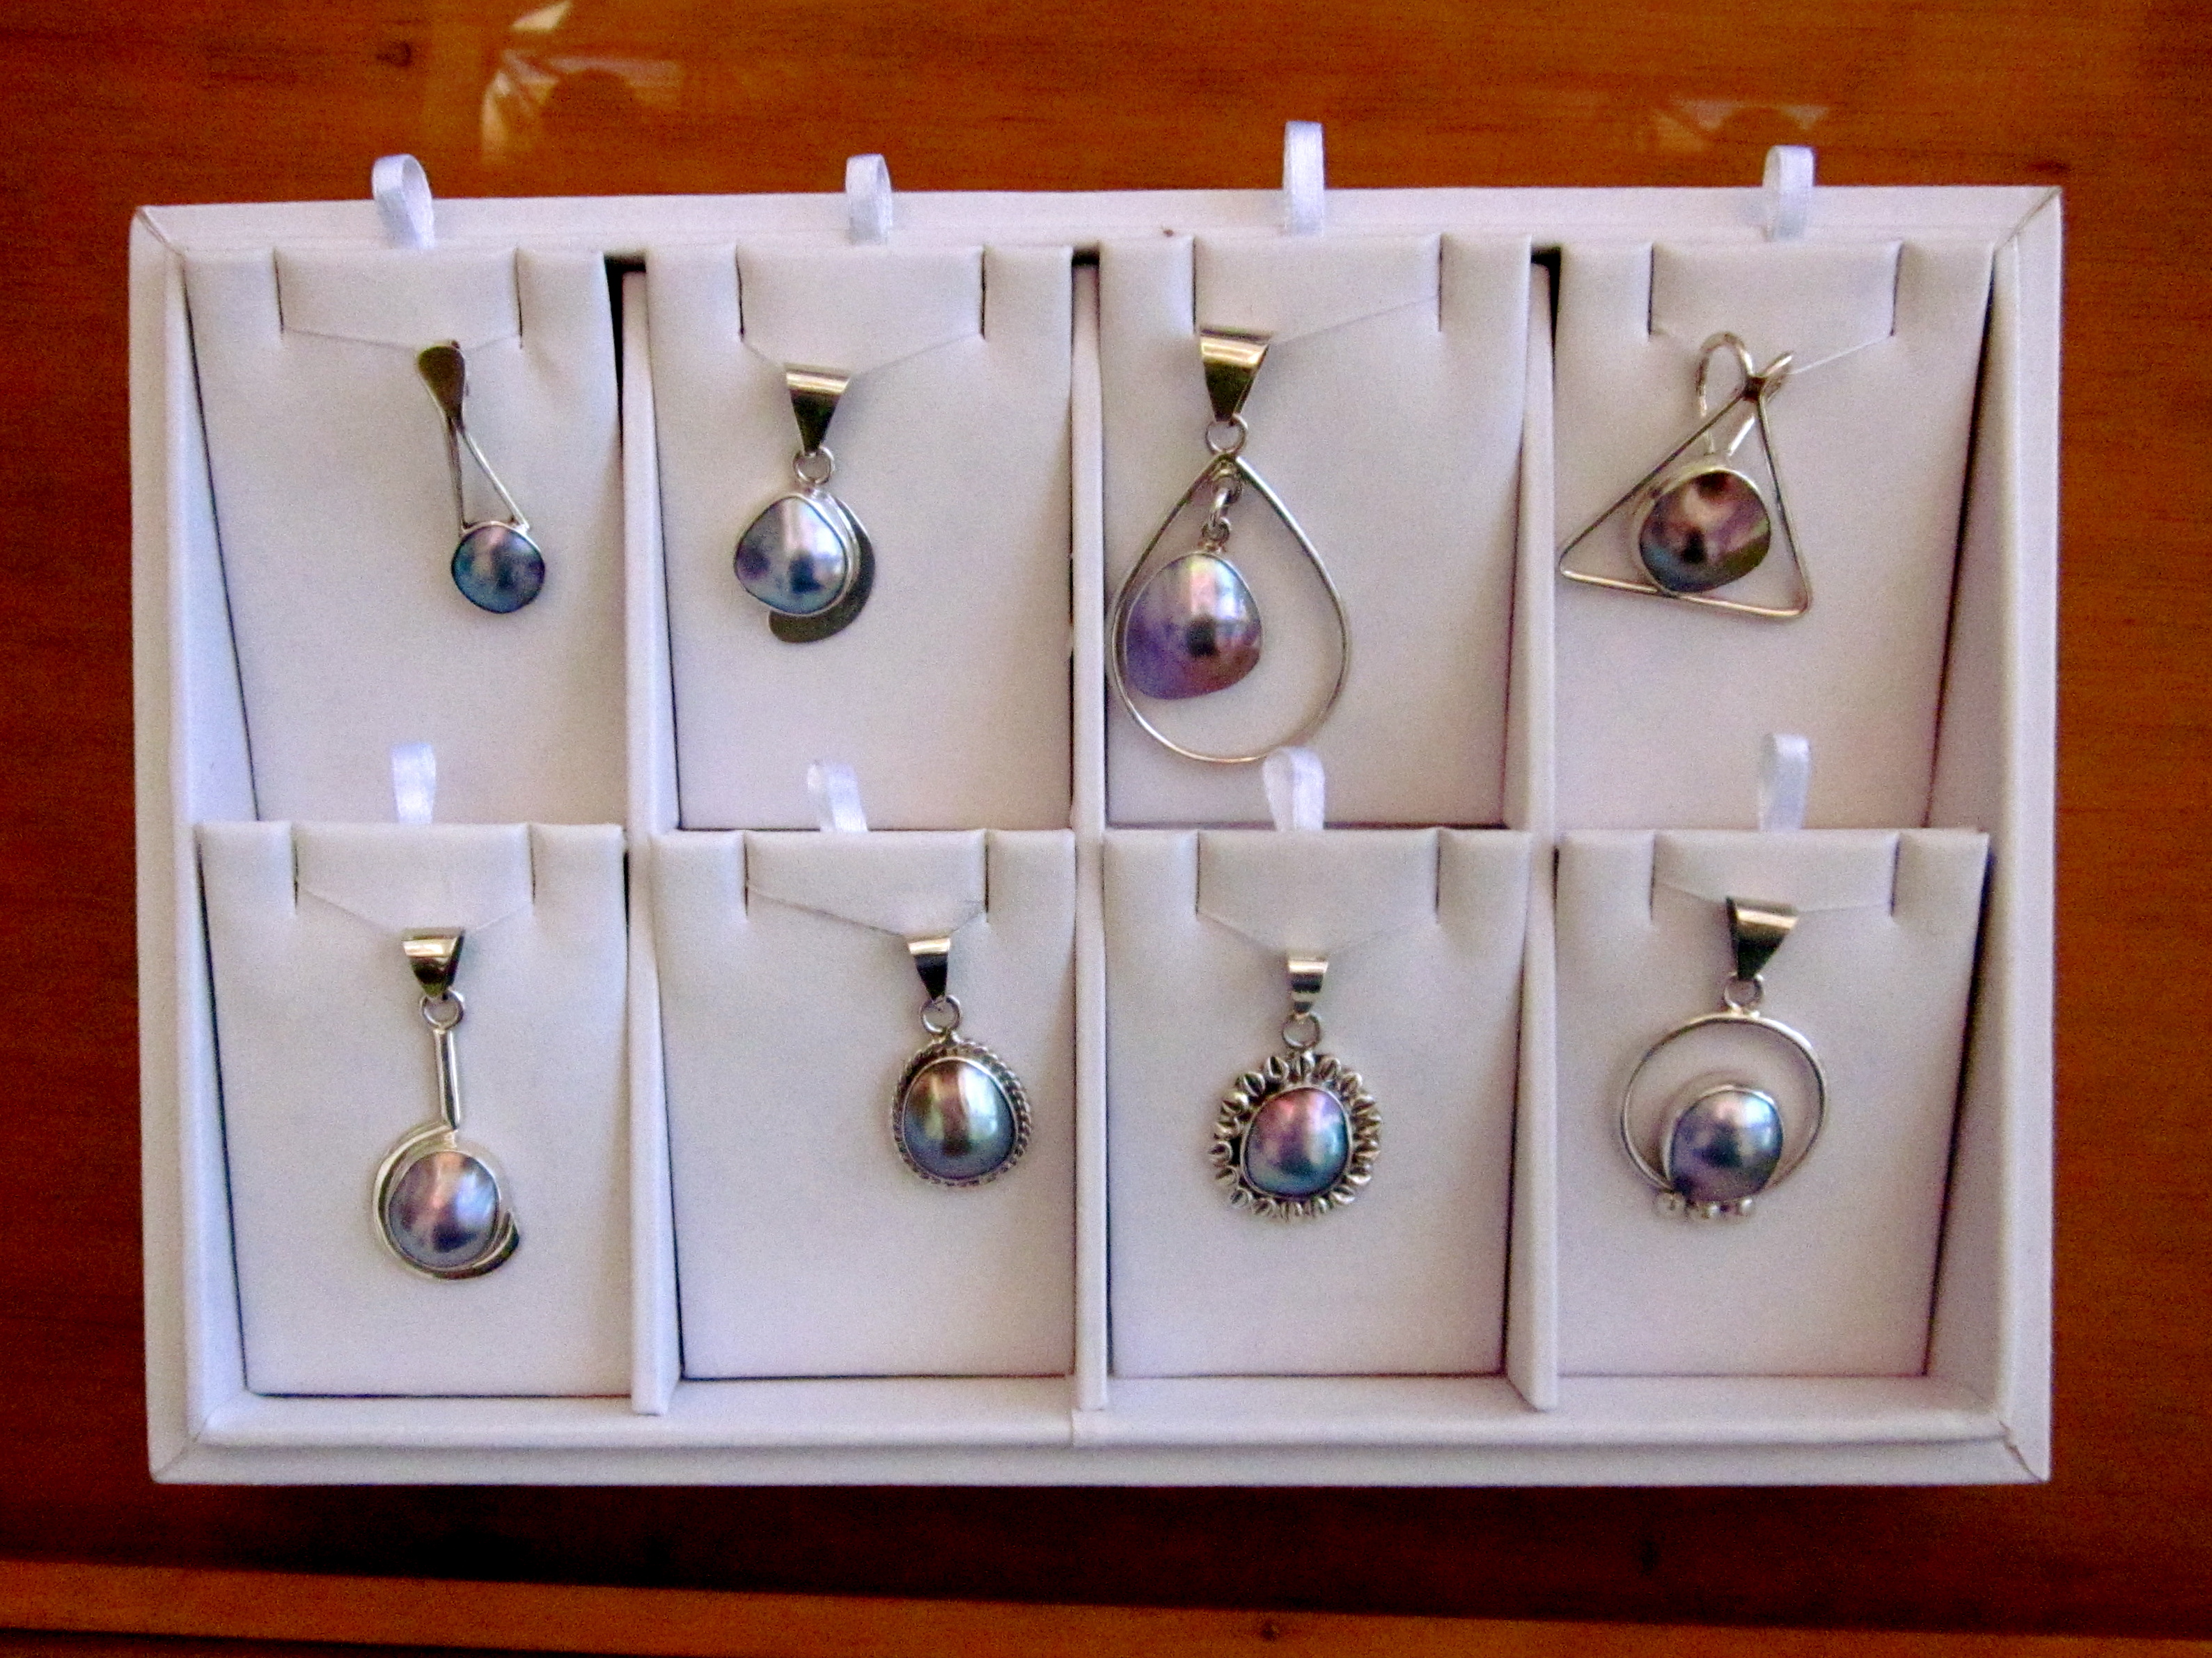
The pearls can be a wide range of colors, and year-to-year these colors vary in an unpredictable fashion. Types of pearls produced include round pearls and “mabe” pearls — “half pearls” with a flat side.
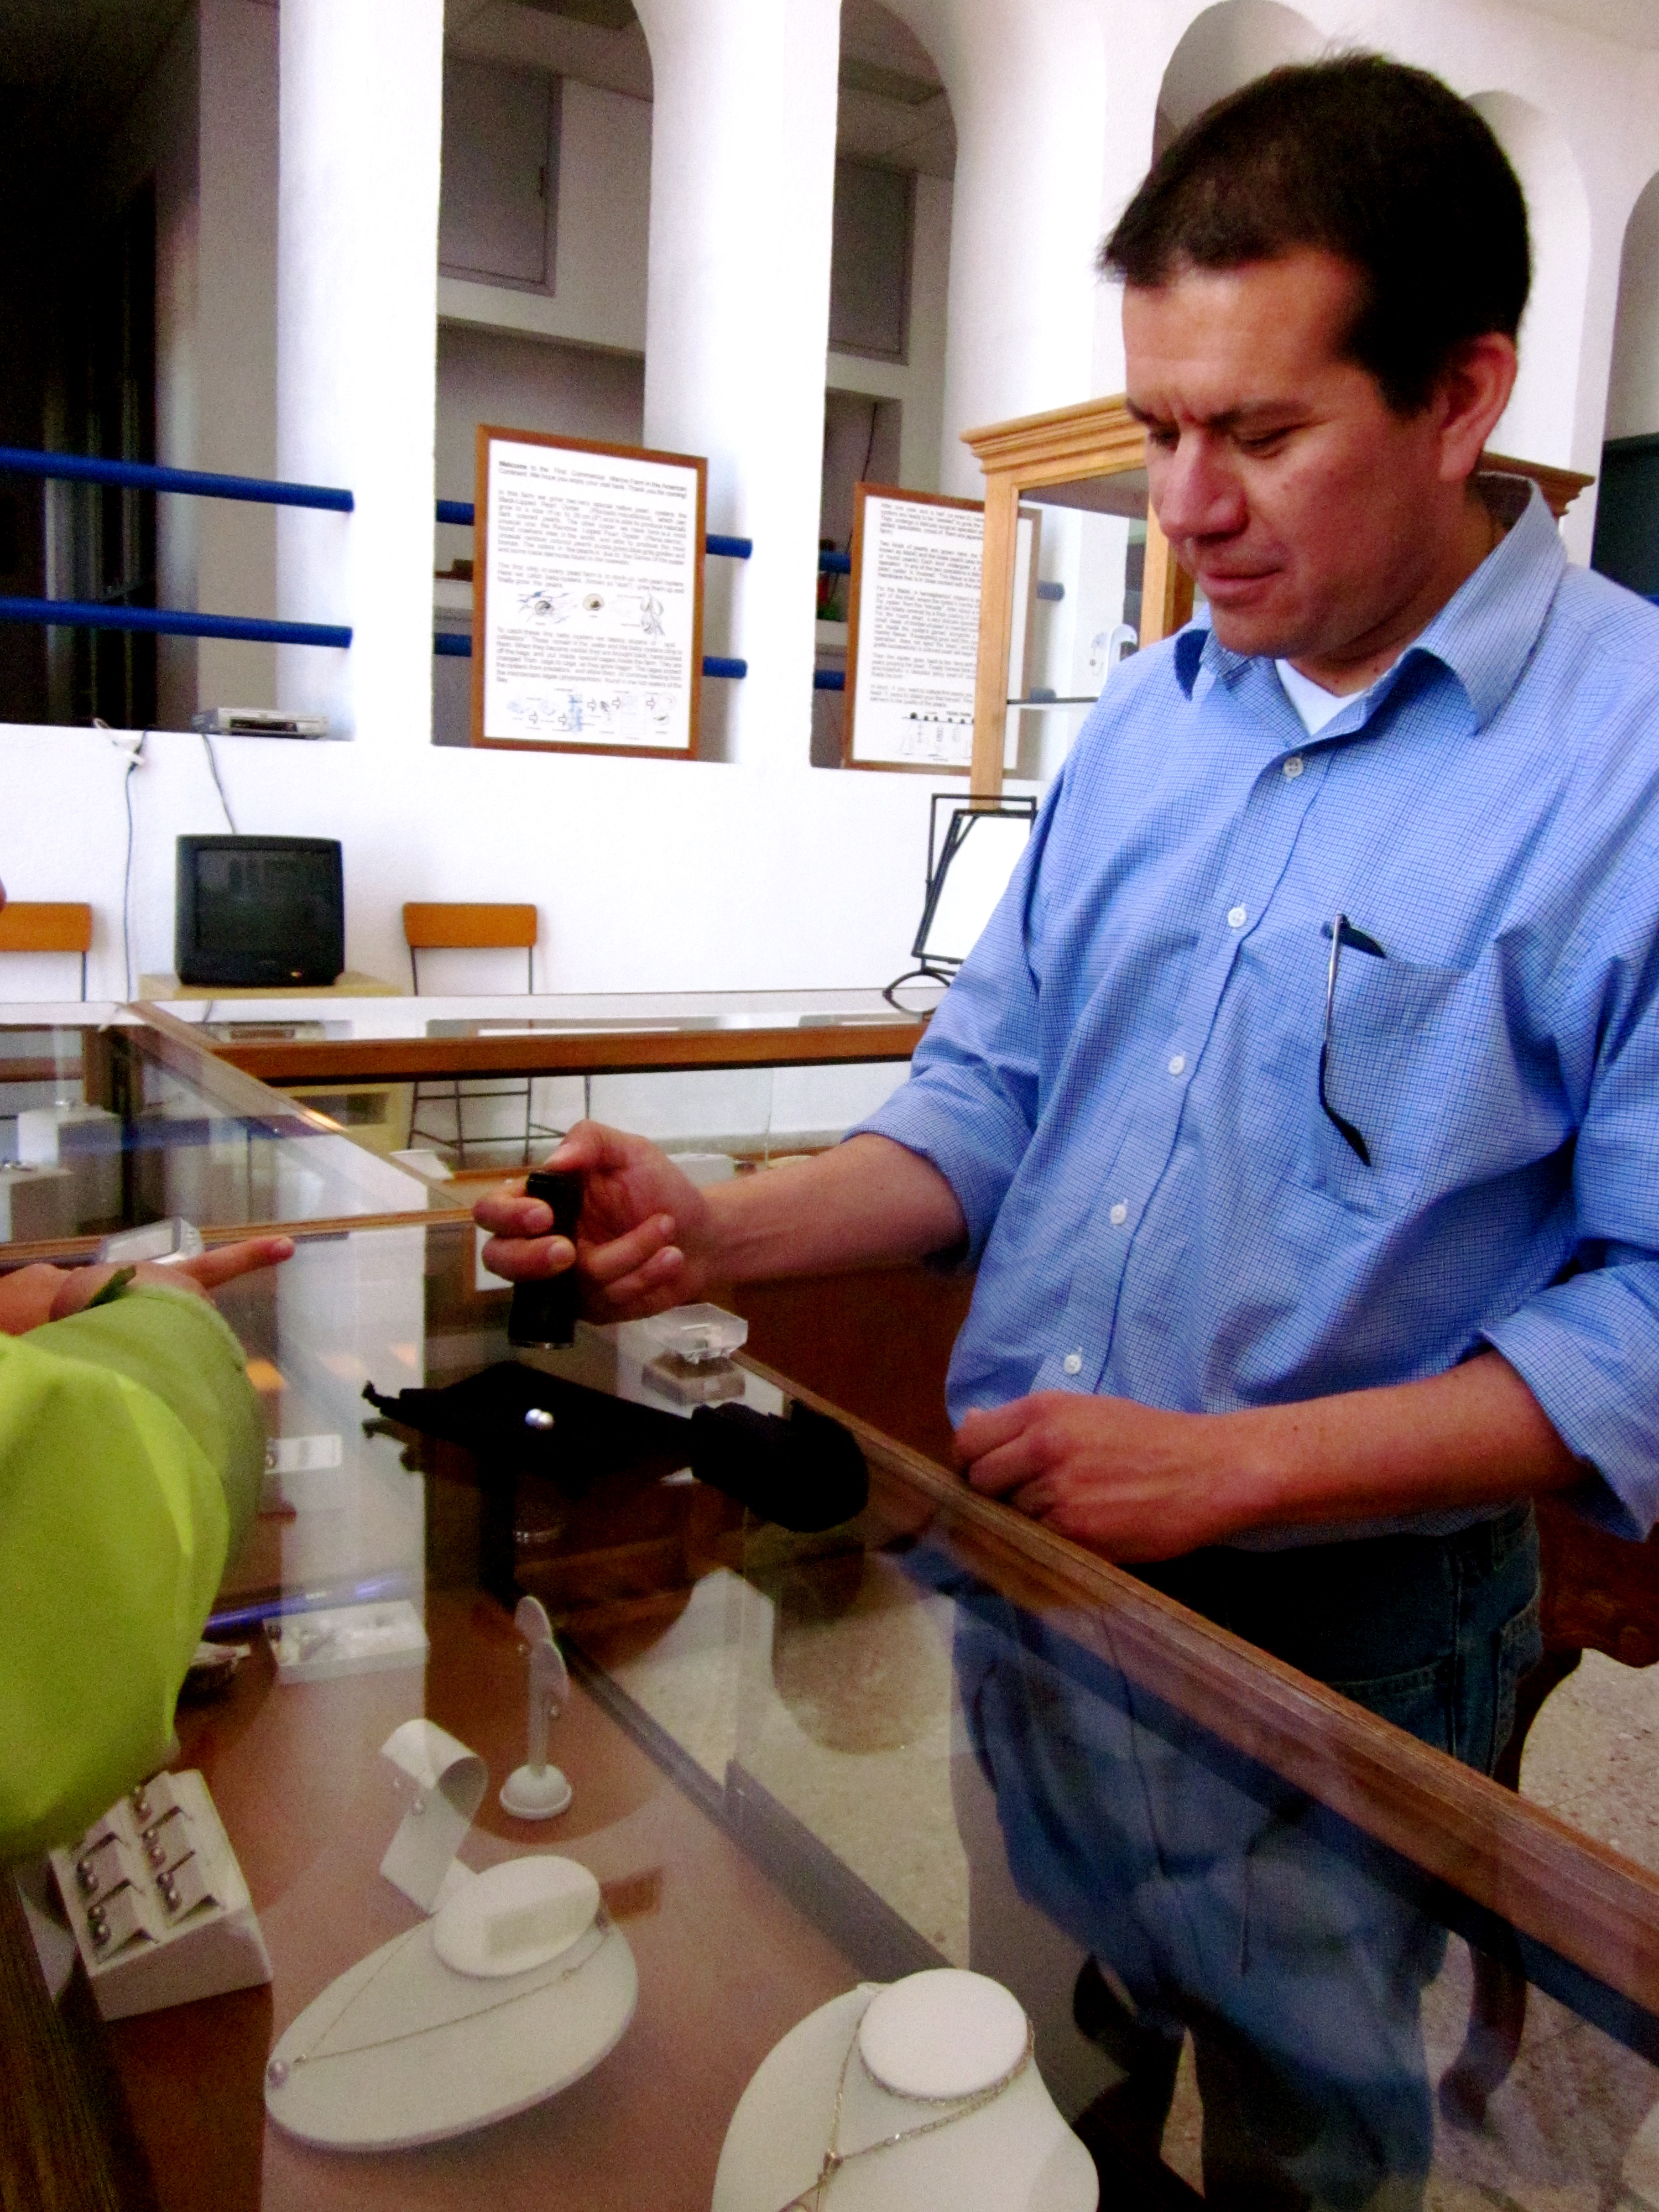
The quality and price of the pearls depends on several factors: size, colors, shape, surface texture, and iridescence. We saw many different variations of these qualities as we shopped for jewelry – the each pearl we saw was unique.
After over an hour in the store, we definitely had to drag a few people out so we wouldn’t miss lunch. If there’s one thing our group likes more than jewelry, it’s tortillas.
